If you’ve been assigned a work placement through the University of Dodoma (UDOM) or a similar program, here’s a step-by-step guide to help you navigate the process smoothly.
This guide covers everything from collecting your assignment letter to reporting to your workstation.
1. Collection of Identification Documents
- Identification documents are collected in alphabetical order. For example, individuals with names starting with A will be called first in their group.
- Ensure you have all required identification documents ready for verification.
2. Receiving the Assignment Letter
- After identification verification, you will collect your assignment letter based on the alphabetical order.
- Verify that the address on the letter matches the one on your portal account.
- Once confirmed, you will receive your letter, which directs you to the district where you’ve been assigned.
3. Meeting the District Executive Director (DED)
- At the district, you will meet the District Executive Director (DED).
- The DED will collaborate with relevant stakeholders to assist you in completing the process.
- Note: The assignment letter from Dodoma does not specify your job details but directs you to the DED.
4. Completing Documentation at the District
- Upon arriving at the district, you will be required to fill out additional documents.
- For pregnant individuals or those with special needs: Ensure you have the necessary documentation or certificates to support your case.
5. Requirements for All Applicants
- Certificates: Bring original certificates and at least 3 copies of each.
- Bank Account: Ensure you have a personal bank account (not a temporary or “chap chap” account).
- Passport Photos: Provide at least 4 passport-sized photos.
- Special Needs Applicants: Ensure you have certificates/identification/details from the relevant authorities (e.g., a hospital).
- Transport Allowance: Keep all bus receipts, as they will be required for reimbursement. Remember: “No evidence, no transport allowance.”
6. Forms to Fill Out
- There are many forms to complete. While I won’t explain all of them, ensure you fill out the sections relevant to your situation (e.g., special needs or pregnancy).
7. Completion of the Process
- Once the process is complete, your file will be created, and you will be given a PF number. This number is highly confidential.
- After signing contracts, individuals with special needs will be called to select a workstation with a friendly environment. Assignments will be made based on preferences.
8. Final Briefing and Reporting to Work
- All applicants will be called together for a briefing and will receive letters indicating their assigned workstation.
- You will then report to your workstation and prepare to start work within two weeks.
9. At the Workstation
- At your workstation, you will write a permission letter and leave copies of your certificates along with the letter to your department head.
- A second copy of the letter will be given to the ward education officer, and you will keep the third copy. All three letters are the same.
Final Notes
This process ensures that all applicants are properly documented and assigned to their respective workstations. Make sure to follow all instructions carefully and keep all necessary documents ready to avoid delays. Good luck as you embark on this new chapter of your career!
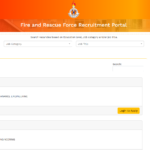 1 Minute Master Guide to Fire and Rescue Force Recruitment Portal (ajira.zimamoto.go.tz)
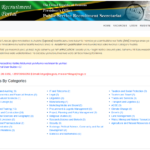 Ajira Portal, Registration, Log in and How to Apply Jobs Correctly (5 Minute Master Guide for Beginners)
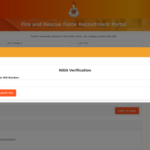 How to Use Fire and Rescue Force Recruitment Portal Efficiently